Wireshark is the world’s most popular network analyzer. A network protocol analyzer is usually required to get the deepest visibility in determining network issues.
Grabbing the newest Wireshark release for Windows and Mac OS X is easy enough. You just direct your web browser to the Wireshark site to grab it. Things can be a little trickier if using Linux.
The Wireshark package listed with most Linux distribution repositories is usually a version or two behind the current stable release. Even if the repositories have the latest stable release, what do you do if you want to try out the bleeding edge features of the latest development release? You may have no other choice except to do a source-based installation. This post will show you how to do just that.
Get Wireshark
- Navigate your web browser to http://www.wireshark.org/download.html
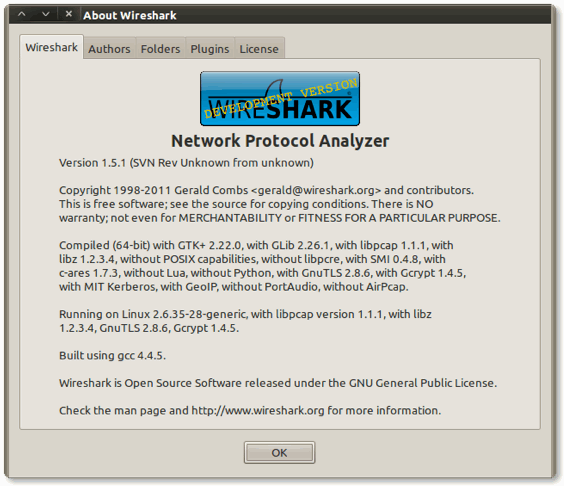
- Click the Development Release → Source Code link to download the wireshark-1.5.1.tar.bz2 compressed tarball file.
Compile and Install Wireshark
Fedora and Ubuntu/Mint slightly differ which I will detail in their respective sections.
Fedora
- You may need to download and install the Development Tools package group. This package group is similar to
build-essentialon Debian-based Linux distributions. Run the following commands from the terminal:
su -c 'yum clean all'
su -c 'yum update'
su -c 'yum groupinstall "Development Tools"'
- We need to fetch some dependency packages to ensure a successful source-based installation of Wireshark. Run this command from the terminal:
su -c 'yum install bison flex gtk2-devel libpcap-devel c-ares-devel libsmi-devel gnutls-devel libgcrypt-devel krb5-devel GeoIP-devel ortp-devel portaudio-devel'
- Change to the directory where you saved the Wireshark compressed tarball file. I saved the file in my
$HOME/Downloadsdirectory. Run this command from the terminal:
cd ~/Downloads
- Unpack the Wireshark compressed tarball file to the
/tmpdirectory. Run this command from the terminal:
tar xf wireshark-1.5.1.tar.bz2 -C /tmp
- Change to the
/tmp/wireshark-1.5.1directory. Run this command from the terminal:
cd /tmp/wireshark-1.5.1
- Execute the
autogen.shscript to configure your build directory:
./autogen.sh
- Execute the
configurescript. This checks your Linux system to ensure it has the proper library dependencies, in addition to the proper compiler for the source code. Run this command from the terminal:
./configure --enable-setcap-install
- Let’s now build Wireshark. The
makecommand compiles the source code and then the linker to create the final executable files for the package. Run the command from the terminal:
make
- It’s finally time to install Wireshark. Run this command from the terminal:
su -c 'make install'
Ubuntu/Mint
- Start off by updating the local package index with the latest changes made in our defined repositories. Run this command from the terminal:
sudo apt-get update
- We need to fetch some dependency packages to ensure a successful source-based installation of Wireshark. Run this command from the terminal:
sudo apt-get install autoconf bison flex libtool libgtk2.0-dev libpcap-dev libc-ares-dev libsmi2-dev libgnutls-dev libgcrypt11-dev libkrb5-dev libcap2-bin libgeoip-dev libortp-dev libportaudio-dev
- Change to the directory where you saved the Wireshark compressed tarball file. I saved the file in my
$HOME/Downloadsdirectory. Run this command from the terminal:
cd ~/Downloads
- Unpack the Wireshark compressed tarball file to the
/tmpdirectory. Run this command from the terminal:
tar xf wireshark-1.5.1.tar.bz2 -C /tmp
- Change to the
/tmp/wireshark-1.5.1directory. Run this command from the terminal:
cd /tmp/wireshark-1.5.1
- Execute the
autogen.shscript to configure your build directory:
./autogen.sh
- Execute the
configurescript. This checks your Linux system to ensure it has the proper library dependencies, in addition to the proper compiler for the source code. Run this command from the terminal:
./configure --enable-setcap-install
- Let’s now build Wireshark. The
makecommand compiles the source code and then the linker to create the final executable files for the package. Run the command from the terminal:
make
- It’s finally time to install Wireshark. Run this command from the terminal:
sudo make install
Run Wireshark
We have come to the easiest step of the process. Run Wireshark with this command from the terminal:
wireshark &
Troubleshooting
If you get an error that states wireshark: error while loading shared libraries: libwireshark.so.0: cannot open shared object file: No such file or directory, then run ldconfig to properly update the shared library symbolic links. Run this command from the terminal:
Fedora
su -c '/sbin/ldconfig'
Ubuntu/Mint
sudo ldconfig