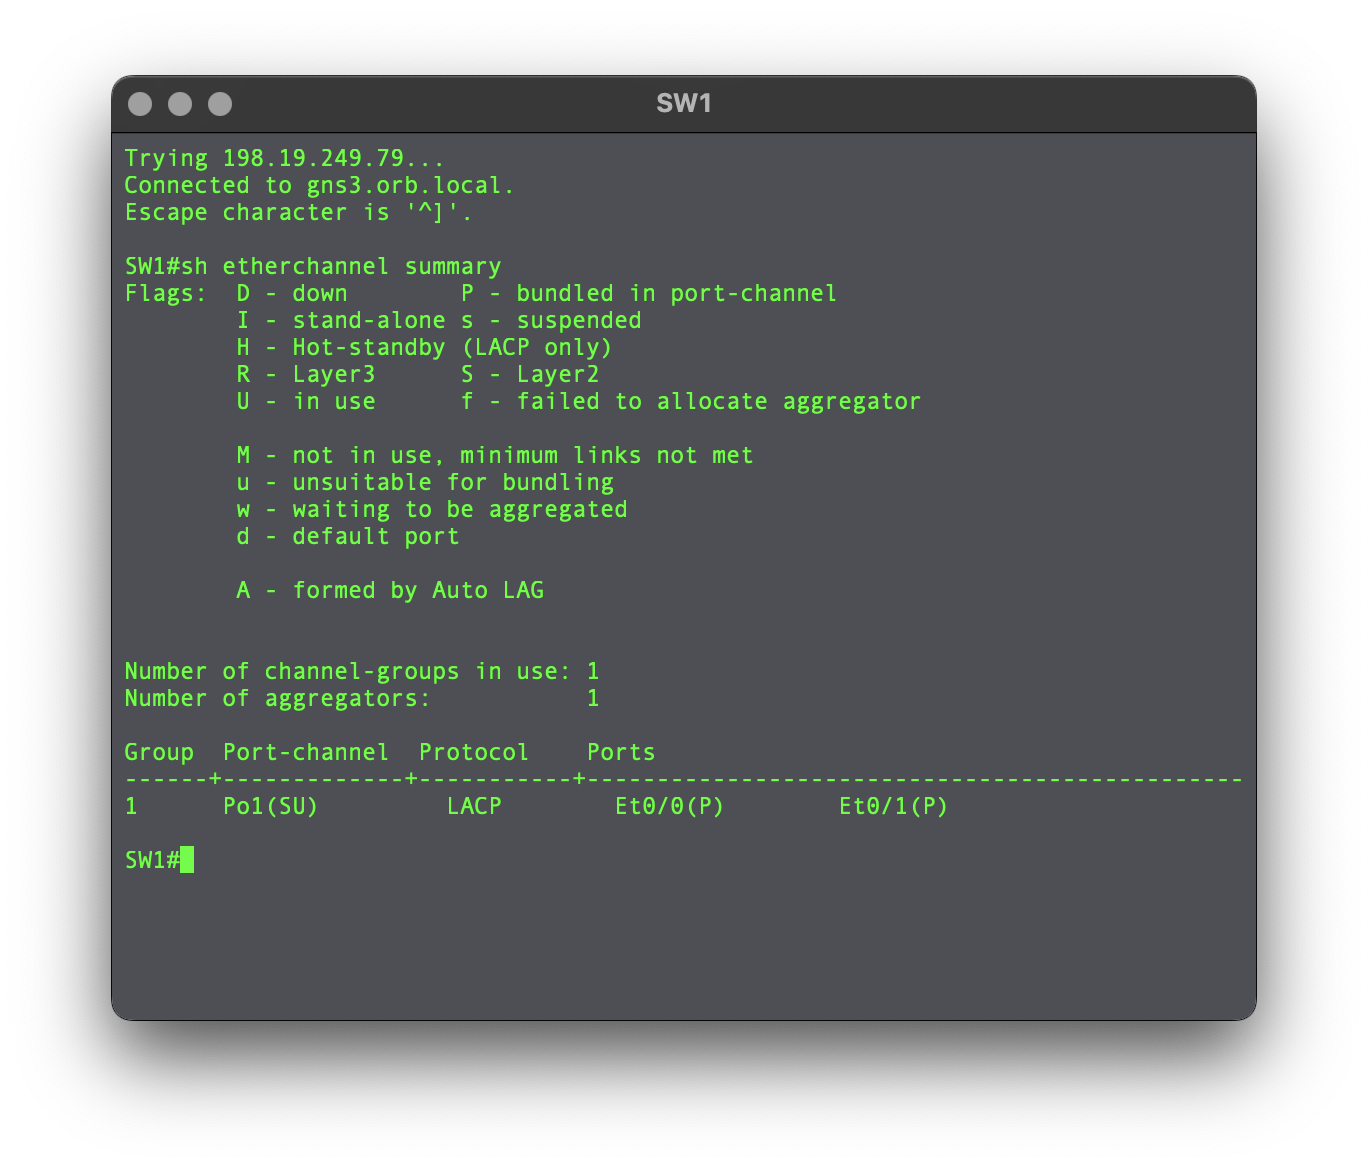
Ghostty
is my primary terminal emulator for macOS, but I prefer to use a separate terminal emulator for GNS3 console (telnet) connections. After some research, I decided on Alacritty
. It’s lightweight and supports the command-line options we need for GNS3.
There are several ways to install Alacritty and Telnet, but I use MacPorts in this post.
Steps
-
Open your favorite terminal emulator (besides Alacritty 😉).
-
Update the local ports tree with the global MacPorts ports repository.
sudo port -d selfupdate
- Install Alacritty and Telnet.
inetutils is a collection of common network programs including Telnet.
sudo port -v install alacritty inetutils
- Get the location for Alacritty and Telnet.
Client tools from the
inetutilscollection have agprefix (for GNU).
type -p alacritty gtelnet
output:
alacritty is /opt/local/bin/alacritty
gtelnet is /opt/local/bin/gtelnet
- Create the Alacritty configuration directory.
mkdir -p ~/.config/alacritty
- Create the Alacritty configuration file.
nano ~/.config/alacritty/alacritty.toml
Enter the following:
[window]
dimensions = { columns = 90, lines = 32 }
padding = { x = 6, y = 6 }
dynamic_padding = true

[font]
normal = { family = "Andale Mono", style = "Regular" }
size = 12

[colors.primary]
background = "#4c4f55"
foreground = "#00ff00"- ⌃ +
o(Save) the file. - ⏎ to confirm.
- ⌃ +
x(exit) thenanotext editor.
Refer to Alacritty - Configuration for more information.
-
Open the GNS3 client application.
-
Click the Settings button.
-
Select General on the left side menu.
-
Click the Console applications tab.
-
Click the Edit button.
-
Select Custom from the drop-down menu.
-
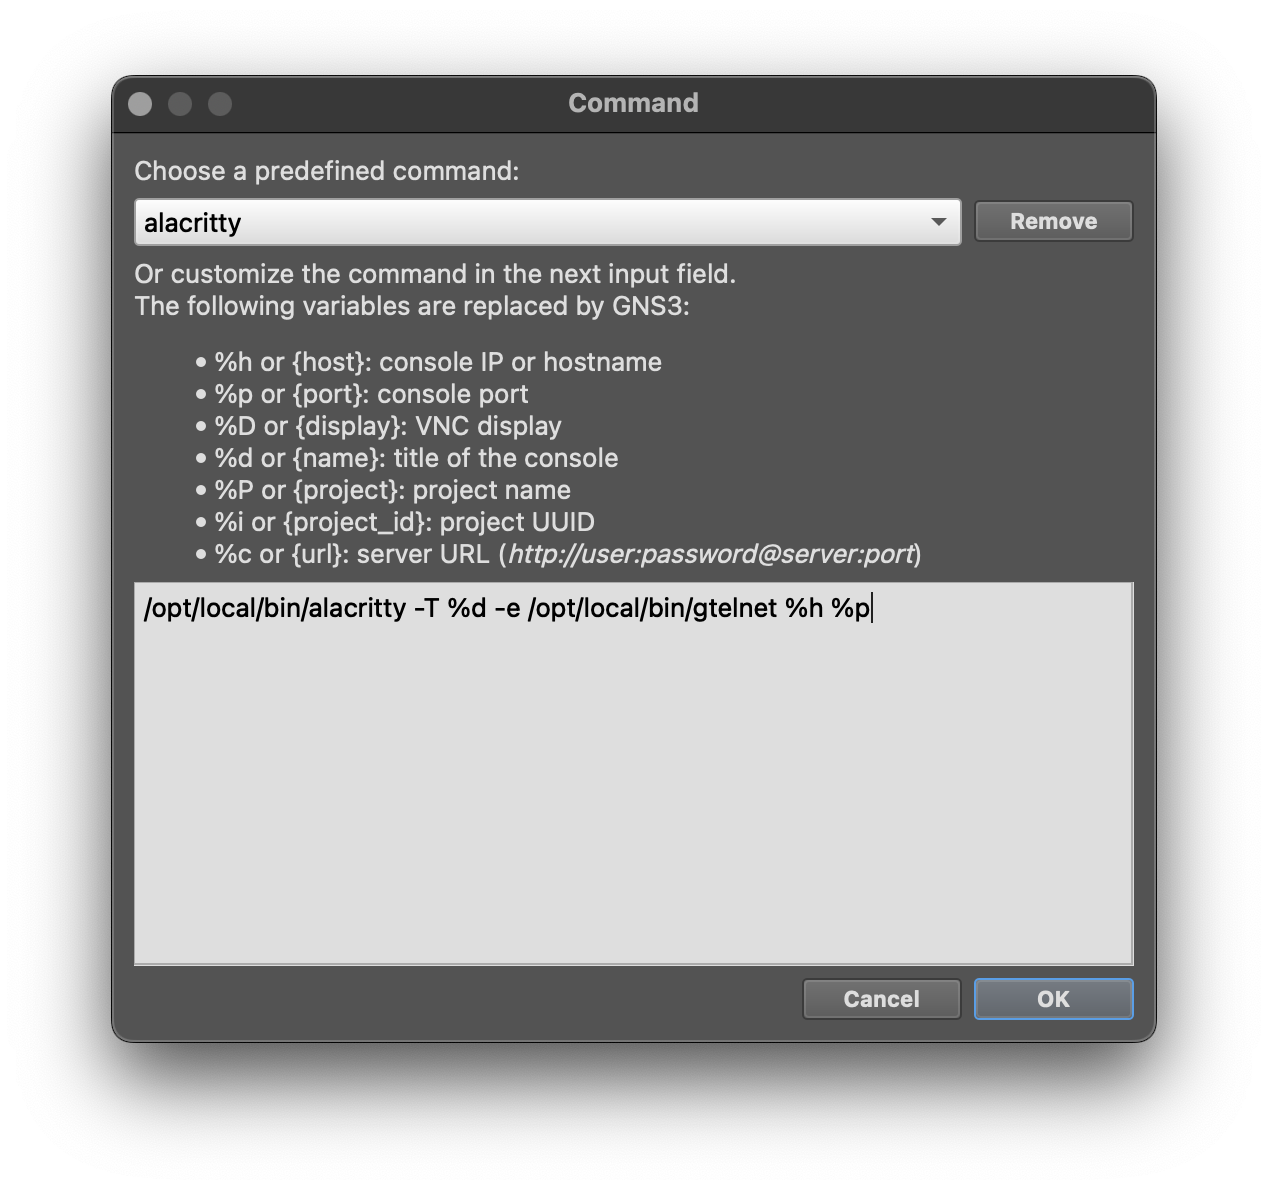
Enter the following in the command field:
/opt/local/bin/alacritty -T %d -e /opt/local/bin/gtelnet %h %p
Note the tool locations are from step 3.
-
Click the Save button.
-
Enter
alacrittyfor the Command name value. -
Click the OK button.
-
Click the OK button to close the Command window.
-
Click the Apply button to save the configuration.
-
Click the OK button to close the Preferences window.
-
Happy Labbing!