The content in this post is intended for educational and informational purposes only. All software rights belong to their respective owners.
Cisco recently made the IOS on Linux (IOL) images available through the Cisco Modeling Labs (CML) Free Tier . IOL is an implementation of Cisco IOS-XE that operates as an executable binary on Linux. This post will guide you through the process of adding Cisco IOL devices using GNS3 on macOS.
Prerequisite
macOS
-
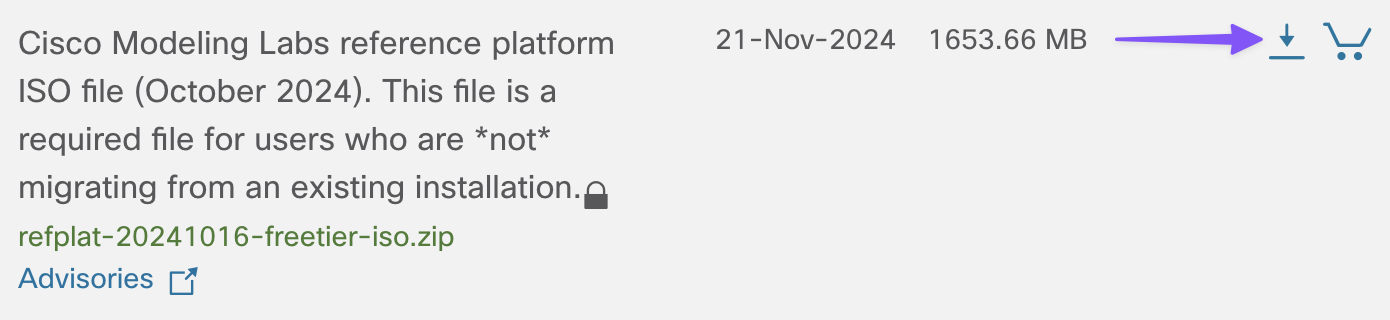
Point your web browser to the CML Software Download page.
-
Click the Download icon for Cisco Modeling Labs reference platform ISO file (October 2024).
-
Log in with your Cisco.com (CCO ID) credentials when prompted.
-
Save the
refplat-20241016-freetier-iso.zipfile to your Downloads folder. -
Open your favorite terminal emulator, and change to the
Downloadsdirectory.
cd ~/Downloads
- Create the
cml28-refplatdirectory.
mkdir -p cml28-refplat
- Uncompress the
refplat-20241016-freetier-iso.zipfile into thecml28-refplatdirectory.
unzip refplat-20241016-freetier-iso.zip -d cml28-refplat
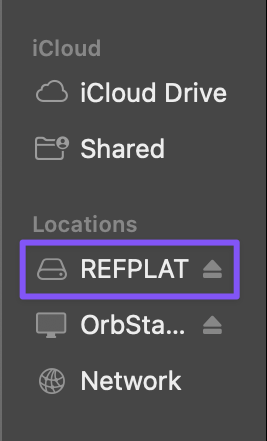
- Attach the
refplat-20241016-freetier.isofile.
open cml28-refplat/refplat-20241016-freetier.iso
- Create the
IOUdirectory.
mkdir -p ~/GNS3/images/IOU
- Copy the IOL L2 image to the
IOUdirectory.
cp /Volumes/REFPLAT/virl-base-images/ioll2-xe-17-15-01/x86_64_crb_linux_l2-adventerprisek9-ms.iol ~/GNS3/images/IOU
- Copy the IOL image to the
IOUdirectory.
cp /Volumes/REFPLAT/virl-base-images/iol-xe-17-15-01/x86_64_crb_linux-adventerprisek9-ms.iol ~/GNS3/images/IOU
- Detach the
refplat-20241016-freetier.isofile from Finder.
GNS3
-
Open the GNS3 client application.
-
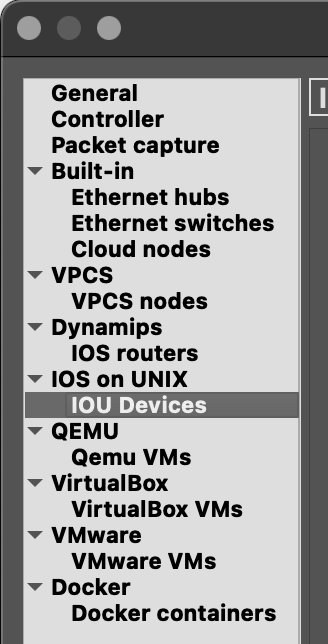
Click the Settings button.
-
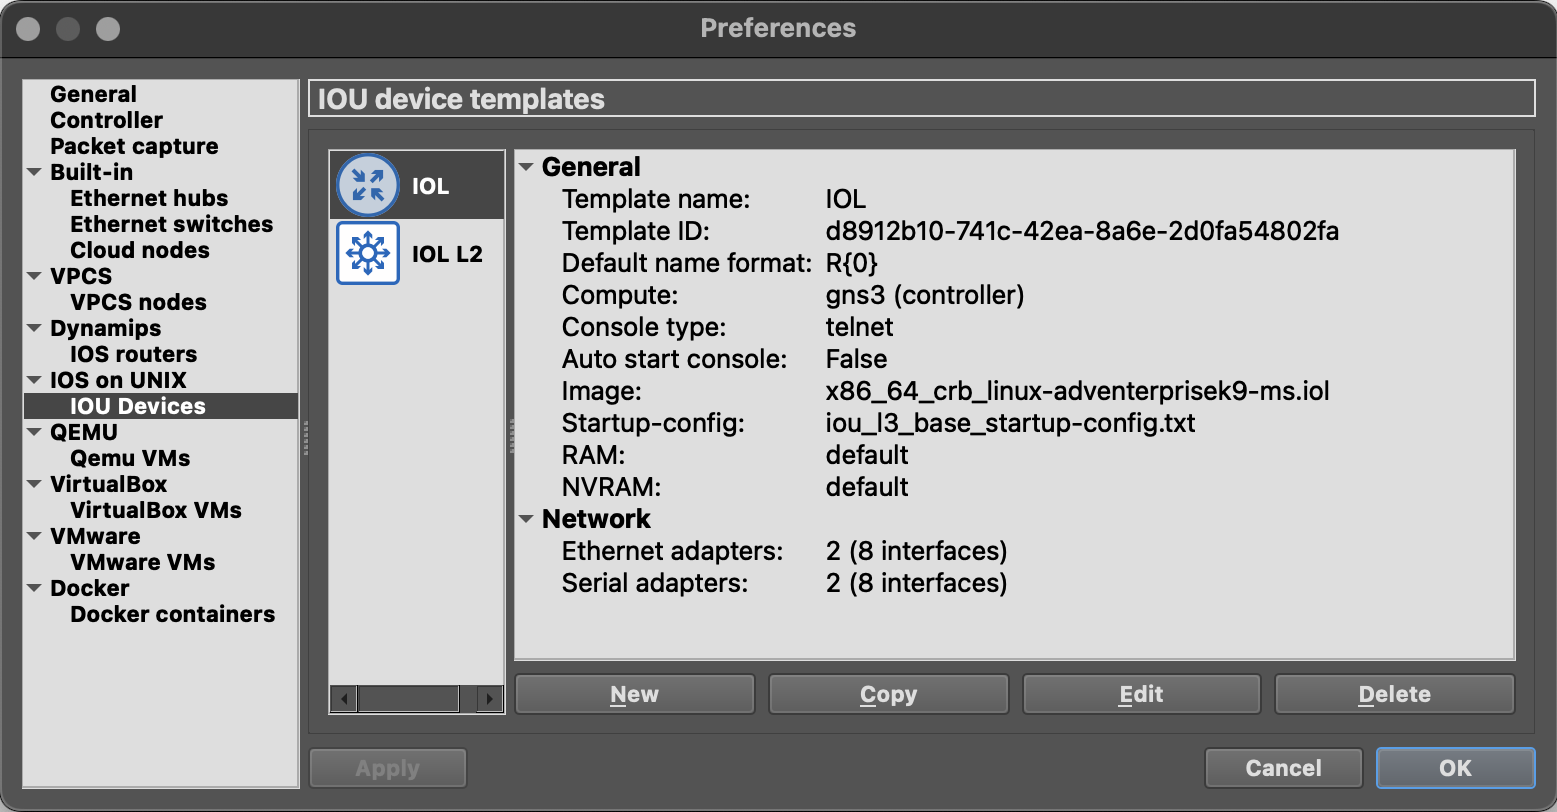
Select IOU Devices on the left side menu.
IOL L2
-
Click the New button.
-
Enter
IOL L2for the Name value. -
Select L2 image for Type.
-
Click the Browse… button.
-
Navigate to and select the
x86_64_crb_linux_l2-adventerprisek9-ms.iolfile.- Click the Show Options button.
- Use
All file (*)in the file extension drop-down menu.
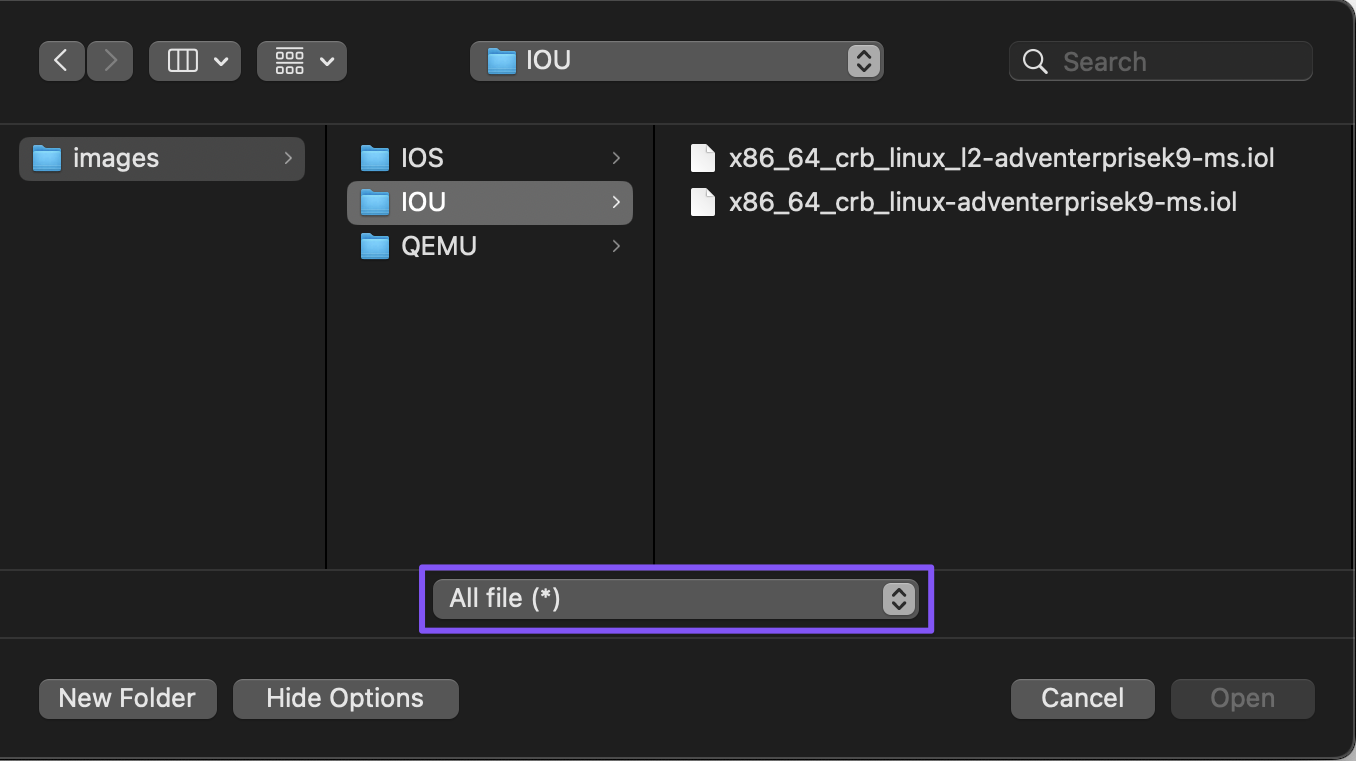
-
Click the Open button.
-
Click the Finish button after the upload completes.
-
Click the Edit button for the IOL L2 template.

-
Enter
SW{0}for the Default name format value. -
Enter
:/symbols/affinity/square/blue/switch_multilayer.svgfor the Symbol value. -
Click the OK button.
-
Click the Apply button to save the template configuration.
IOL
-
Click the New button.
-
Enter
IOLfor the Name value. -
Select the New Image button.
-
Select L3 image for Type.
-
Click the Browse… button.
-
Navigate to and select the
x86_64_crb_linux-adventerprisek9-ms.iolfile.- Click the Show Options button.
- Use
All file (*)in the file extension drop-down menu.
-
Click the Open button.
-
Click the Finish button after the upload completes.
-
Click the Edit button for the IOL template.
-
Enter
R{0}for the Default name format value. -
Enter
:/symbols/affinity/circle/blue/router2.svgfor the Symbol value. -
Click the OK button.
- Click the OK button to save and close the Preferences window.
Happy Labbing!